iPhones are fragile, expensive, and prone to scratches; additionally, we use them pretty much 24/7 and carry them everywhere we go!
As such, it isn’t easy to keep them unscratched and pristine like they were right out of the box.
Either you’ve put it in your pocket with your keys or let your kid have it for a couple of minutes – and voila – your precious iPhone’s been scratched without you even realizing it.
Even when you use a screen protector and a case to safeguard your device, dust and micro particles that sneak in between can cause scuff marks.
So, what can you do? Thankfully, you don’t have to be overly concerned as scratches – while unsightly– are reversible in many situations!
In this article on how to remove scratches from iPhone sides, we’ll explore methods you can use to remove marks from a scraped iPhone body.
Some of them only require items and substances you probably already have at home, while others will need a few special tools. Regardless, all of them are pretty easy and quick to carry out!
We’ll guide you through different methods and provide top-secret tips so you can make your iPhone look brand new again.
Before applying any of the methods below, be sure to switch off your phone, and seal every point (such as the charging port) where liquid may enter your device. Let’s get started!
Items You’ll Need to Remove Scratches from Your iPhone’s Sides

You don’t need complex procedures or specialized products to remove scratches on your iPhone’s sides. Many items you’ll most likely already have at home can work absolute miracles on those scrapes.
Toothpaste
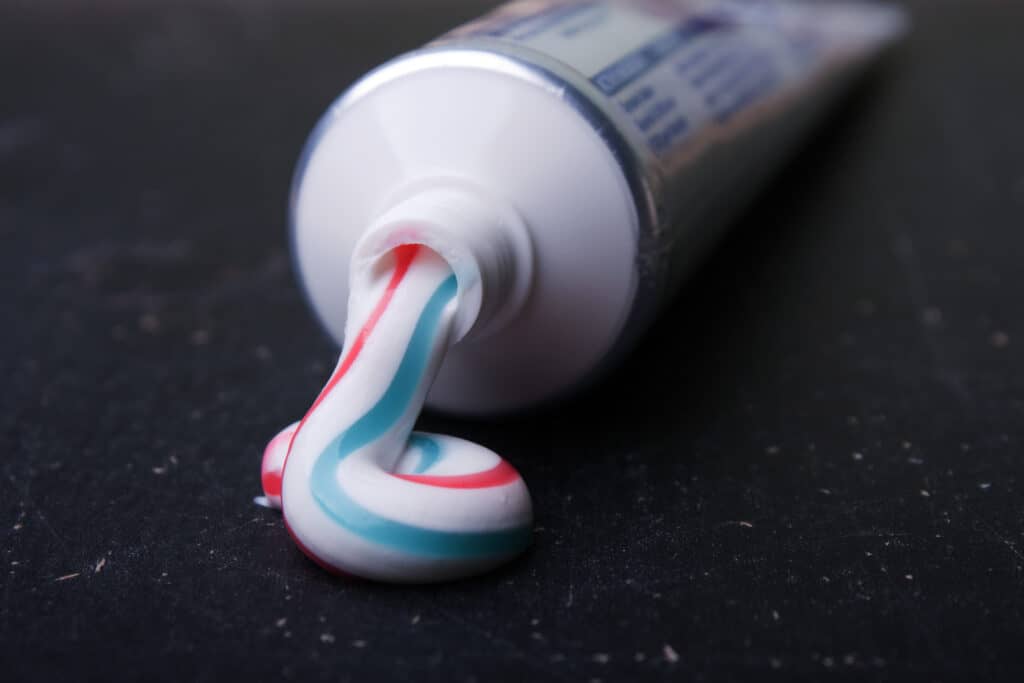
Toothpaste already has a reputation for its potency in cleaning scratches. When using toothpaste to clear scratches, you should pay attention to avoid gel-based products.
After locating the right toothpaste, you can start cleaning by following the steps below:
- First, get a soft polishing cloth or a cotton swab
- Dab a tiny amount of the paste onto your cloth or cotton swab
- Rub the soft cloth or cotton swab gently on the scratches until they diminish
- Wipe the sides with cotton or dampened cloth to eliminate any toothpaste remaining on the body.
Baking Soda
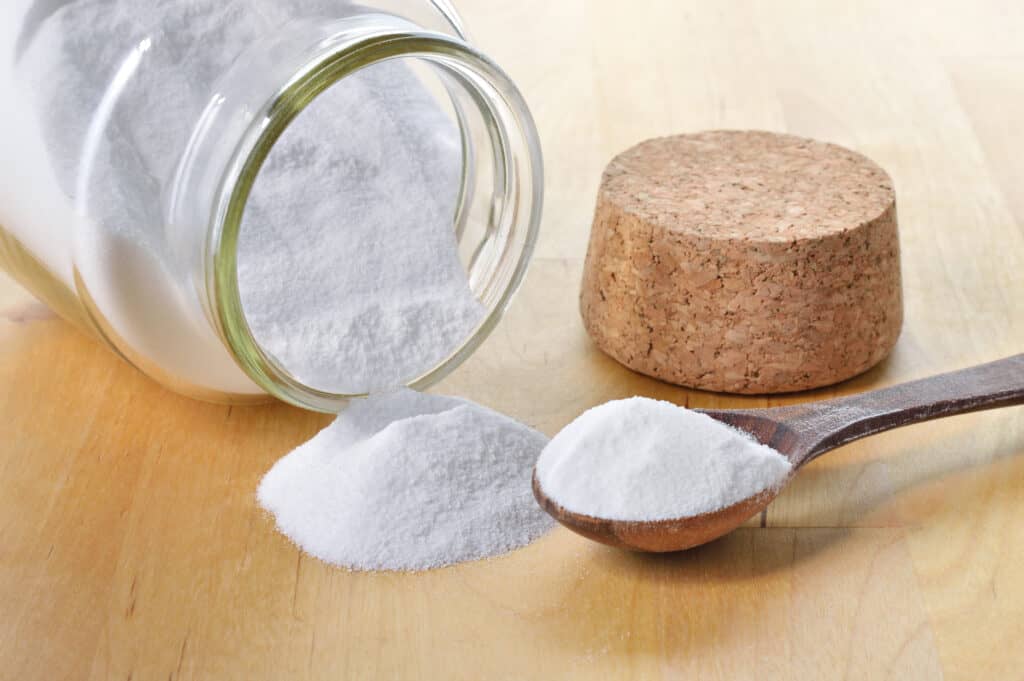
By using baking soda to remove scratches from iPhone sides, you can get excellent results that are close to professional repair. Follow the guide below:
- Mix one part water and two parts baking soda in a bowl
- Stir until the mixture forms a thick paste
- Apply the paste on a soft, clean cloth
- Rub it gently on the scratches in a circular motion
- Lastly, clear your phone using a slightly dampened fabric from any soda residue.
Since you’ll need to use water with this method, you’ll need to take extra care not to get any of it in your phone. Make sure the paste has a thick consistency, and seal any openings to guarantee your device’s safety.
Baby Powder
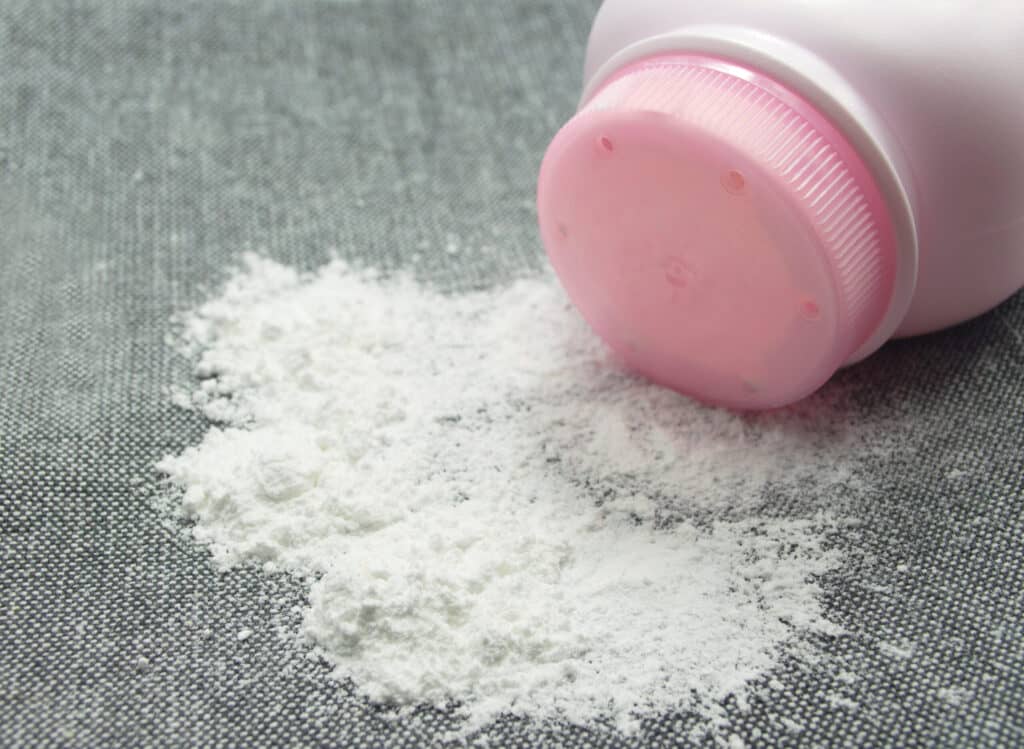
Baby powder is another magically powerful item when it comes to getting rid of scratches.
It works exactly like baking soda: All you need to do is make a paste and rub it on the scrapes!
Follow the steps above we’ve already given for the baking soda procedure since the two substances are interchangeable.
Vegetable Oil
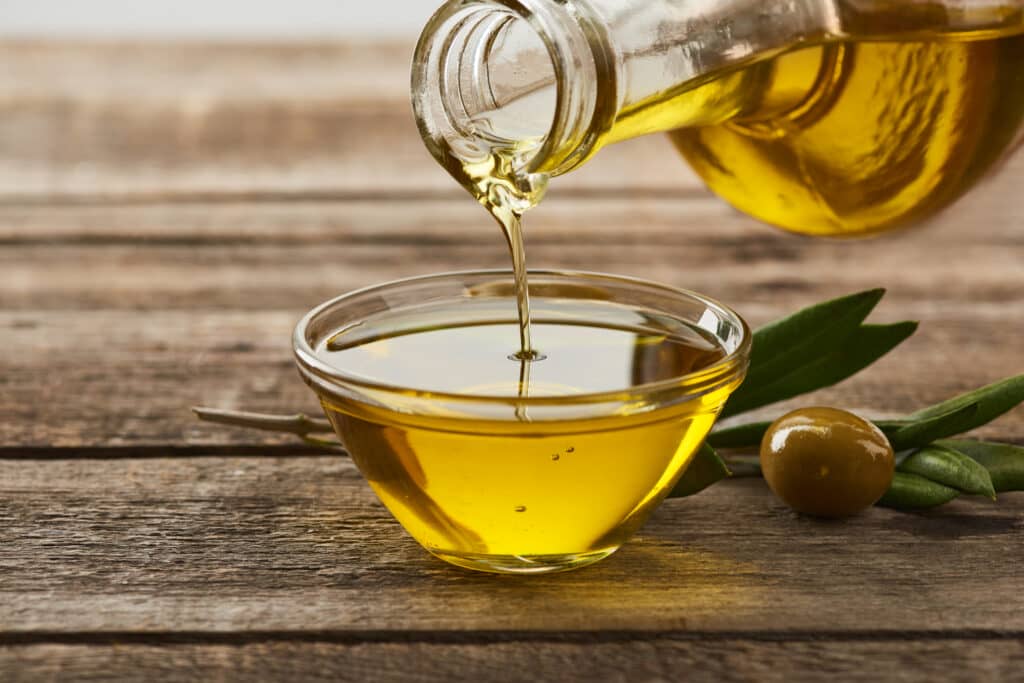
Everyone has some kind of vegetable oil in their kitchen. Therefore, this is often the easiest method to apply.
It may not work for deep or tenacious scratches, but vegetable oil is an excellent temporary solution for small scratches. Simply drop a little oil on soft fabric and gently rub it for a quick fix.
Egg and Potassium Aluminum Sulfate
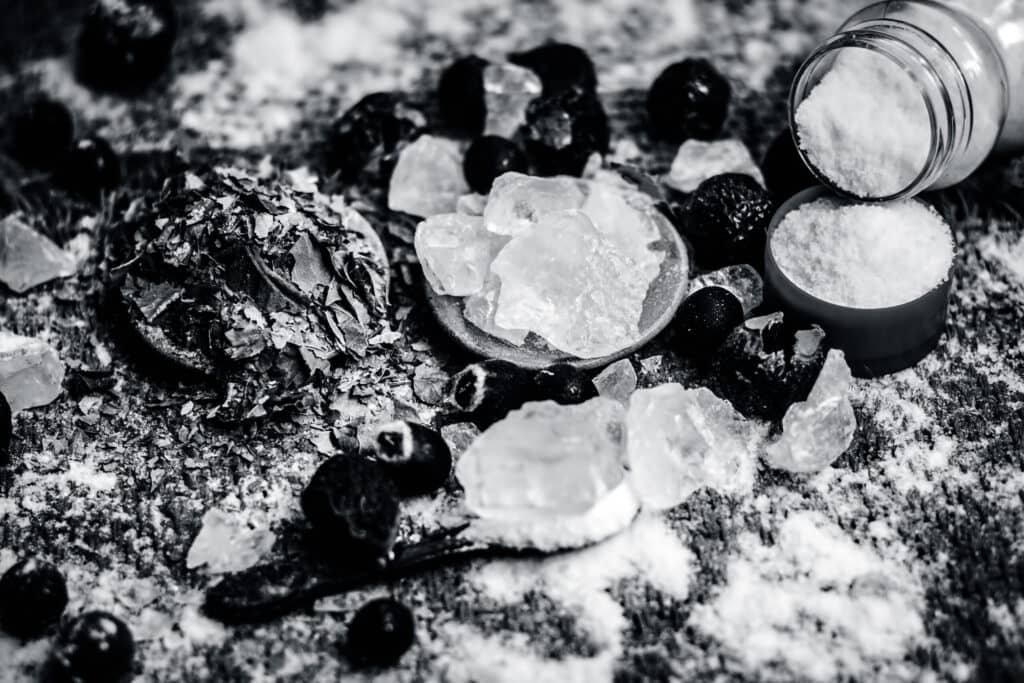
Potassium Aluminum Sulfate, also known as Potassium Alum, may sound like a complex chemical compound, but you can easily find it online or at your local supermarket.
Potassium Alum is a mineral salt used in cosmetics, skincare, food, and many other fields. This versatile compound comes in especially handy when attempting to remove scratches from iPhone sides as well.
This method requires a little more effort than the previous ones. However, it may work better for more persistent scratches.
Get your Potassium Aluminum Sulfate, an egg, aluminum foil, and a microfiber cloth ready, then follow these steps:
- Mix one teaspoon of Potassium Alum with one egg
- Put your mixture in a saucepan
- Heat it to 150 degrees Fahrenheit
- Soak the microfiber cloth in the mixture
- Afterward, put the cloth on a piece of aluminum foil and put it in the oven at 300 degrees Fahrenheit
- Keep it in the oven until the cloth is fully dry
- Take the cloth and run it under cold water for about 30 seconds
- Then you need to repeat these processes three more times
- After the final round, leave the cloth for two days to dry
- Finally, you can use the cloth to remove the scratches.
This method is fairly complex and takes a bit of time. Yet, it all pays off if it can get rid of the scratches on your iPhone!
Specialized Products to Remove Scratches from Your iPhone’s Sides
If you have stubborn scratches that you cannot seem to get rid of with the home remedies above, you can try more professional products explicitly developed for removing marks.
However, keep in mind these products are abrasive and highly effective, while iPhones remain pretty fragile. Therefore, be careful if you decide to try these solutions:
Drill Grinders or Sandpaper
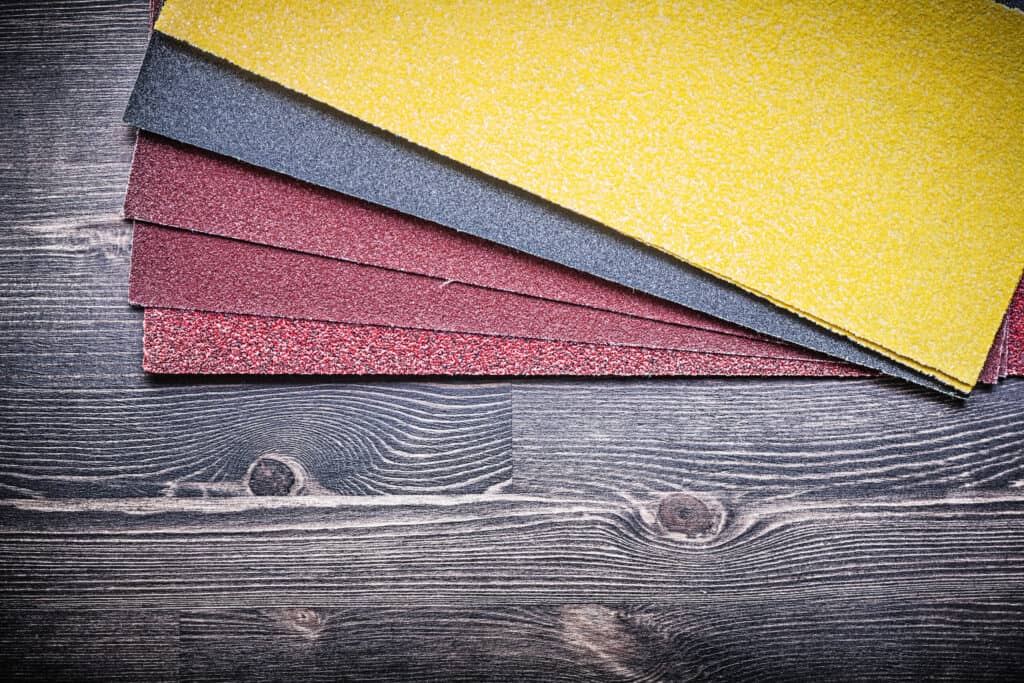
This DIY method is a drastic method of removing scratches. However, they do have the ability to eliminate those scuffs or scratches from your iPhone.
You must choose a small drill grinder or fine sandpaper with the lowest grit level, as rough grinders and sandpaper will quickly damage your phone.
Slowly go over the scratches and frequently check the effects on your phone. If you sand for too long or too harshly, grinding can cause more damage to your iPhone!
In addition, don’t try this method on your phone screen. The screen is a lot frailer than the body of your phone. As such, you may end up rendering your phone completely unusable.
Magic Erasers
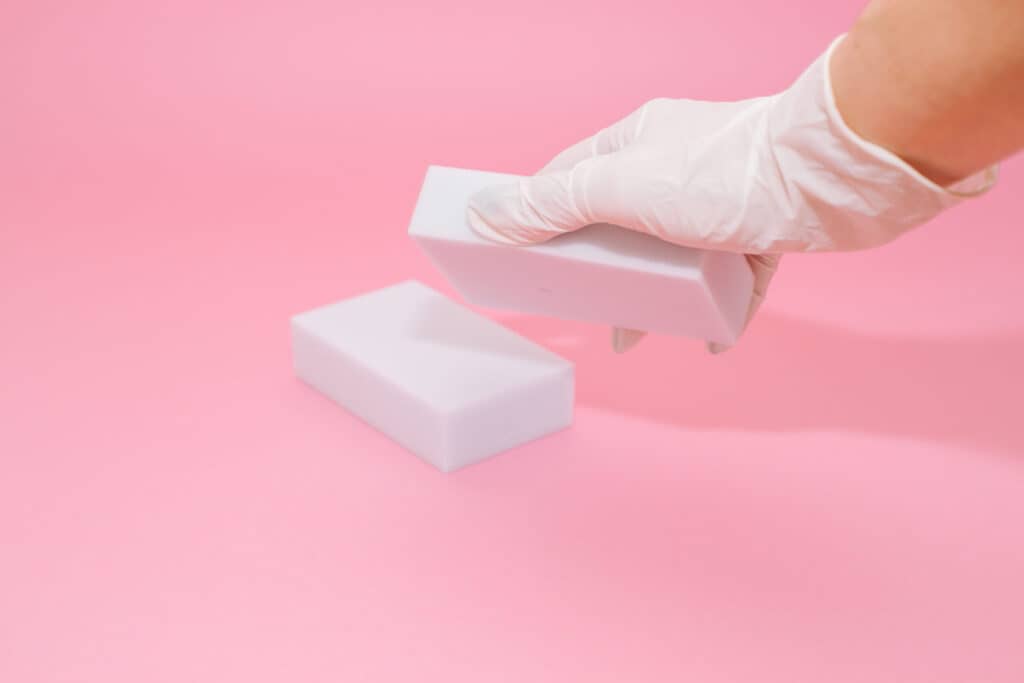
Magic Erasers have a reputation for removing basically anything. Therefore, if your iPhone has minor scratches on the side, you might like to give them a go as well.
You’ll only need to dampen your Magic Eraser a little, then wipe the scratches. It is highly effective, and while using a magic eraser might feel safer than sandpaper, they are not that different.
Magic Erasers act like wet sandpaper, and they’re plenty abrasive too. Therefore, you should be very careful when using this method as it could damage or leave more scratches on your phone.
In addition, because they’ll be wet, ensure you don’t get excess water in your phone.
Car Scratch Removal Creams
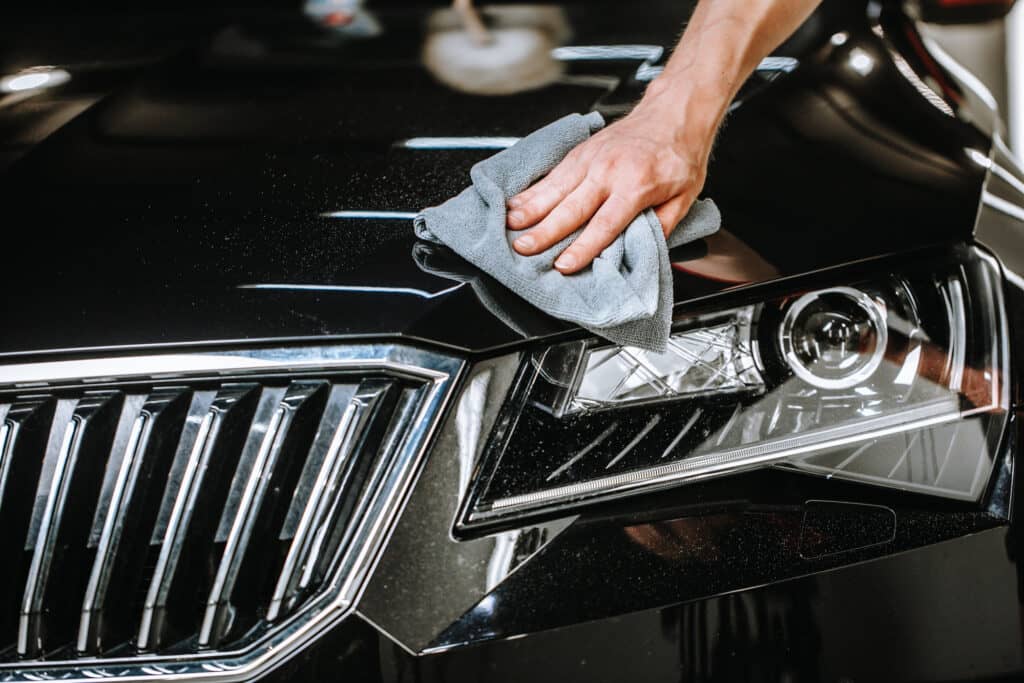
If none of the previous remedies work for you or you find them too drastic, you can use a car scratch removal cream to carry out the job.
Some of the most well-known brands are Swirl Remover, 3M Scratch, and Turtle Wax. You can handle minor scratches on your iPhone with these creams quite easily.
Simply apply your preferred car scratch removal creams onto a clean fabric, then gently clean the scratches in a swirling pattern.
Metal Polishes
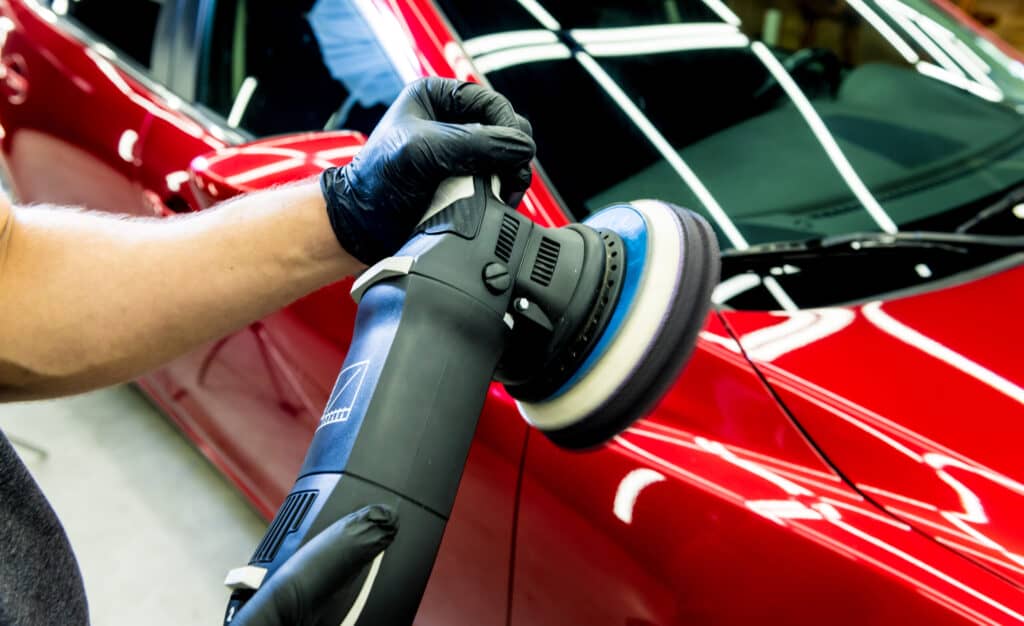
Using metal polishes such as Silvo and Brasso can effectively mask scratches from your phone’s body.
However, these products are very potent and made for more durable materials. Therefore, they can destroy the coating of your iPhone and cause even more damage.
If you decide to use these products, do it with caution and follow the steps below:
- Place a towel on a flat surface and set a plate or bowl on it to prevent spilling
- Then pour the polish into the bowl
- Pick a clean, soft fabric and soak it into your polish
- Gently rub the cloth upward and downward on your iPhone, then in a circular pattern
- Finally, wipe it off with a fresh cloth.
In Summary
As we’ve explained, there are a variety of solutions for the scratches on your iPhone’s sides.
They can be as simple as toothpaste or as aggressive as sandpaper. Depending on the state of your phone, you’ll be able to decide on the best method for you.
Whether it’s a DIY solution using items found in your kitchen or strong tools or chemicals, be both cautious and gentle when applying these methods.
Turn off your phone, remove the battery if possible, and seal every possible entrance for liquids. After that, you can start removing scratches by following the methods above!
