AirPods and AirPods Pro are premium earbuds designed by Apple to provide high-quality sound delivery.
However, if the masses are to be believed, it appears that the high-performance aspect may be limited solely to the sound output and not the input as well.
The internet is full of users who have the same complaint:
“Why is my AirPods microphone muffled?”
Being that Apple AirPods are a highly-priced product, the subpar mic quality is a surprise that has many trying to discover the cause.
It turns out that the mic’s poor performance (and the reason why AirPods sound muffled) is due to them having to be converted to 8 to 16 kHz SOC Codec.
The SOC Codec deals with the microphone’s audio transmission and is a basic setting for Mac devices.
AirPods themselves actually have an AAC codec, which delivers high-quality sound output.
However, for input, they have to shift from AAC to SOC Codec due to Bluetooth’s inability to support high-quality input and output at the same time.
As a result, the output becomes compromised, and your voice ends up sounding muffled or distorted through the microphone.
Why Is the Airpod Mic So Bad?

To be clear, the AirPods microphone is not “bad”, per se. After all, Apple is a company that’s been around the block a few times and knows what it is designing.
The mic ends up delivering below-par performance only because of the aforementioned Codec and Bluetooth’s incompatible bandwidth. Therefore, the poor thing is not to be blamed entirely!
However, it is admittedly disappointing (and irritating) to spend a significant sum of your hard-earned money on expensive earbuds such as AirPods- in hopes of fabulous performance- only to be met with something less than average.
(The microphone has also been known to make your voice robotic at times, but that’s a topic for another article.)
As we’ve mentioned, AirPods are not completely at fault for the muffled microphone.
They come with the AAC Codec (Advanced Audio Coding), an audio coding standard that delivers better quality sound than MP3 encoders at the same bit rate.
This ensures that the audio output of AirPods is as good as promised. Fortunately, Bluetooth can support the AAC codec and facilitate wireless transmission for sound output.
With that said, Bluetooth’s bandwidth is rather limited. Once it supports the AAC codec for audio output, it doesn’t have enough space to support another AAC codec for input (or microphone).
So, to combat this, the AirPods microphone shifts from AAC codec to SOC codec (System on Chip).
This compromises the quality of microphone input and reduces it to something akin to an entry-level device with bare minimum features. This shift is highly noticeable when connecting the AirPods to Mac for meetings or conferences.
So, does this mean that the issue is fixed and cannot be remedied? Of course not.
There are a few different ways that you can try to maximize a muffled microphone on your AirPods and increase the quality of both audio output and input.
How Do I Fix My Airpods Mic Quality?

Guess what? There are multiple ways in which you can improve the mic quality on your AirPods.
The most commonly suggested method from Apple themselves is to change the audio MIDI settings on your MacBook.
It does the job, even though some users have reported that the results are a bit hit-and-miss. Keep in mind that it’s not guaranteed to work, and the results may be temporary. However, it’s still worth trying as the success rate is encouraging.
Let’s now take a look at the different ways you can improve your AirPods microphone quality:
Toggle Bluetooth On And Off
Turning the Bluetooth off and then back on again is one of the most favored and effective methods in the book.
Simply disconnect Bluetooth connectivity by turning it off on your phone. Wait for around half a minute, and then turn it back on again. The AirPods will automatically reconnect.
Test the microphone to see if your mic sounds better than before. Any minor glitches in Bluetooth connectivity should be resolved, and you should experience a subsequent increase in the microphone’s quality.
Disconnect Other Devices
Once Bluetooth is turned on, all nearby linked devices will connect to it whether you actively use them or not.
This narrows the bandwidth and ends up affecting the AirPods mic quality. When using the AirPods on your Mac, disconnect other devices that are not in use.
Go to Control Center -> Bluetooth -> Bluetooth Preferences
Tap the cross mark against all other connected devices except the AirPods. This will allow the Bluetooth to deliver optimal performance with the AirPods (both the speakers and microphone).
Clean The AirPods
Accumulated dust and debris will reduce the quality and performance of any device- with AirPods being no exception.
Clean the AirPods carefully and regularly with a microfiber cloth and a soft brush. A can of compressed air can also come in very handy. Remember that no water, moisture, or sharp objects should be used in the process!
Make sure to clean both the speakers and the microphone to prevent dirt from affecting the audio quality.
Update The iOS
Did you miss a software update? Keep your device updated by downloading the latest software updates as soon as they’re available.
Missing an update can lead to latency and distortion in audio quality. It’s possible that the AirPods may not even connect properly if you are still on an outdated system version!
Avoiding Unstable Bluetooth Connections
Though AirPods have good Bluetooth connectivity, it’s best to stay close to the source device when using the AirPods for the highest quality input and output.
It’s important to maintain a stable Bluetooth connection in order to prevent glitches and poor audio quality. Stay in one place, and keep your device close!
Change The Microphone Input
Instead of using the AirPods’ microphone, change the mic preference from the AirPods to your Mac’s built-in mic.
Go to System Settings -> Sound -> Input to do this.
Click on the Mac’s built-in option and wait for 15 seconds for the settings to change and take effect.
The sound input should now work as well as it ever did instead of sounding muffled.
Where Is The Mic On Airpods?

AirPods are true wireless devices- which means that they have no wires to connect either to the phone, or to each other.
In that case, you may be wondering: Where is the microphone fitted on the AirPods? Is it on the left, right- or both sides? Can a mic near the ear lobe even catch our voice easily and transmit it effectively?
AirPods have microphoneS. Yes, that’s plural with an “s”, because there’s actually one mic on each side.
These aren’t just any ordinary mics, either. AirPods come with noise reduction microphones to offer high-quality audio input that make your voice sound as clear as possible on the receiver’s end. Background noise is also reduced to allow your voice to be easily transmitted. Cool, right?
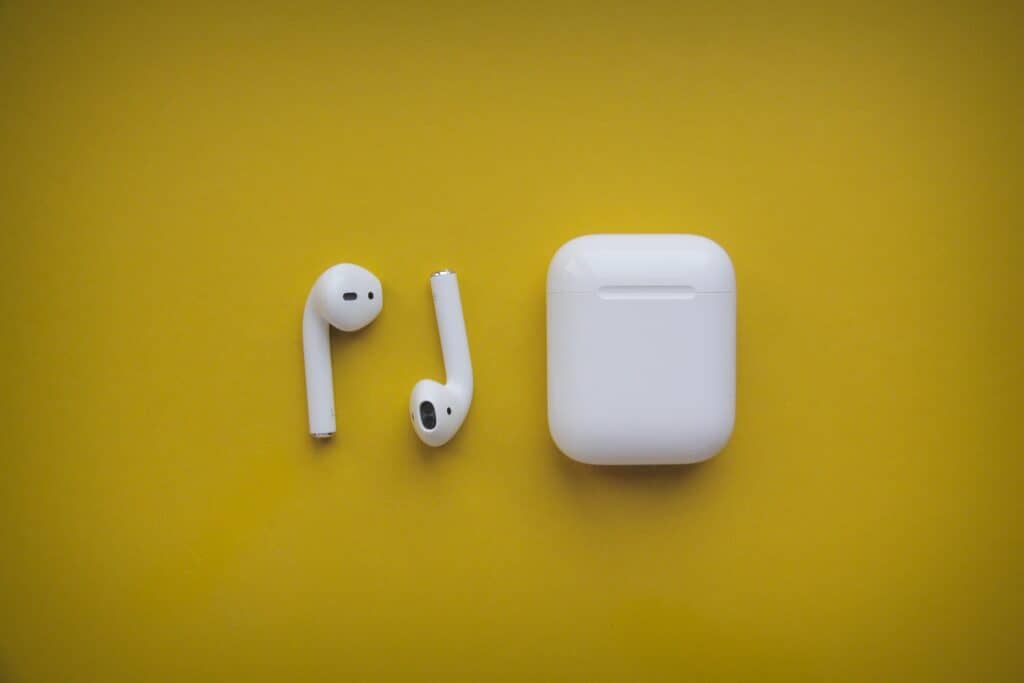
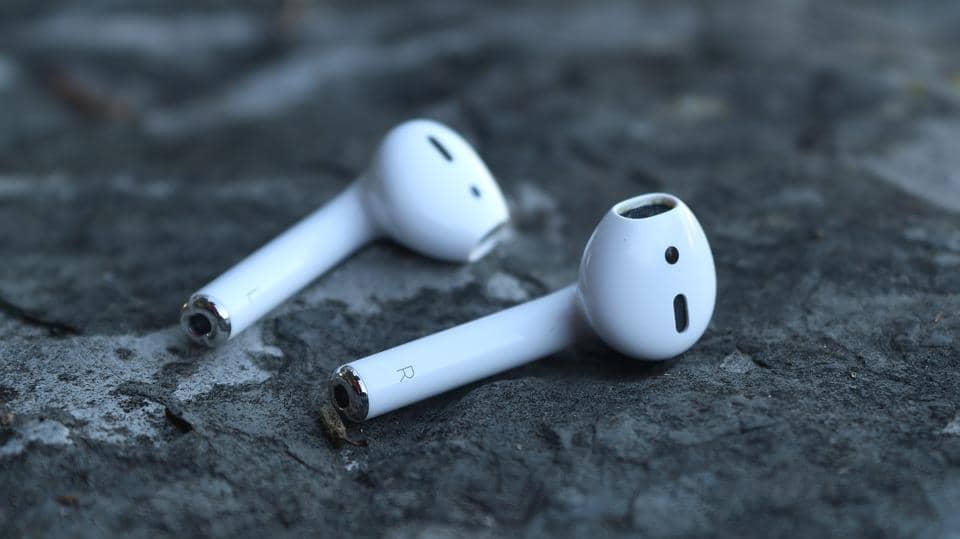
The microphone on each AirPod is located at the bottom of the shaft (the long protruding end that sticks out of the ear).
The shaft also contains an antenna and a battery. The microphone is at the bottom end and as close to the mouth as it can get (given the size).
A tiny metal guard protects the mic to prevent it from being damaged. Unfortunately, debris and dirt can still collect in this guard, which can lead to a ‘robotic’ voice and distortion.
Make sure to clean your AirPods properly and insert them correctly into your ears so that the mic is angled towards your cheeks and mouth. This will allow the mic to catch your voice without any difficulty whatsoever!
Can You Adjust Microphone Sensitivity On Airpods?

Yes, you can adjust microphone sensitivity on AirPods, though this needs to be accomplished from the device to which it is currently connected.
If the AirPods are connected to your iPhone, try the following steps to increase the mic’s sensitivity:
- Go to Settings -> Bluetooth
- Tap on ‘i’ next to your AirPods, which should show up in the list of connected devices.
- Under the Press and Hold AirPods, select Noise Control
The microphone can be set to Always Left or Always Right. This function allows the AirPods to detect your voice even when the pod is not in your ear. You can also hold the AirPod close to your mouth to increase sound clarity.
To increase the mic sensitivity in your Mac, go to System Preferences -> Sound -> Input -> slider to adjust mic gain (sensitivity). Additionally, you can turn on the ambient noise reduction from the same control panel.
Related Questions
People are unable to hear me on AirPods. How do I fix this?
Here are a few of the different ways you can try to resolve this issue:
• Clean any dirt or debris near the microphone.
• Re-pair the AirPods with your device.
• Check the call audio settings.
• Update firmware.
• Check if AirPods are muted on your device.
How do you make or answer calls on AirPods?
You can call on Siri to use the AirPods to call any person on your contacts list.
Activate the voice assistant on the AirPods by double-tapping either of the earbuds.
Similarly, all you need to do is double-tap an AirPod to answer an incoming call.
In Summary
If your AirPods microphone has muffled output, this will most likely be due to a Bluetooth connectivity which cannot simultaneously transmit high-quality audio both ways.
Since the AirPods speaker output continues in the AAC codec, the microphone’s input switches to the SOC codec (8 to 16 kHz). This reduces the sound quality of the microphone and can lead to muffled and distorted voices.
Despite this, the microphone quality of the AirPods can still be maximized through various means.
Cleaning any visible dirt or debris, renewing their connection to the source device, and changing the mic settings are all tried and tested ways that go a long way in fixing a muffled mic on your Apple AirPods.
Headphones are one of them. Want to know what the other 14 Most Essential Smartphone Accessories are this year? Click HERE to find out!
