Just like any other electronic device, your Apple AirPods can sometimes experience strange new issues.
It can be especially annoying when your left AirPod charges slower than the right one, as you really need both AirPods to be completely functional for the optimal user experience!
In addition to that, I’m sure you’d agree that Airpods aren’t exactly the cheapest headphones out there and that you’d want to avoid having to replace them if at all possible.
Some of the issues you might encounter include:
- AirPods not charging properly
- Charging too slowly
- One AirPod charging slower than the other
The most likely cause behind AirPod charging issues is related to electronic contact points coming loose somewhere- resulting in electrical charge not being able to even reach the earbuds.
In this article, we’ll discuss why that happens, as well as a few things that you can do to fix this problem once and for all!
Why is My Left Airpod Charging So Slow?
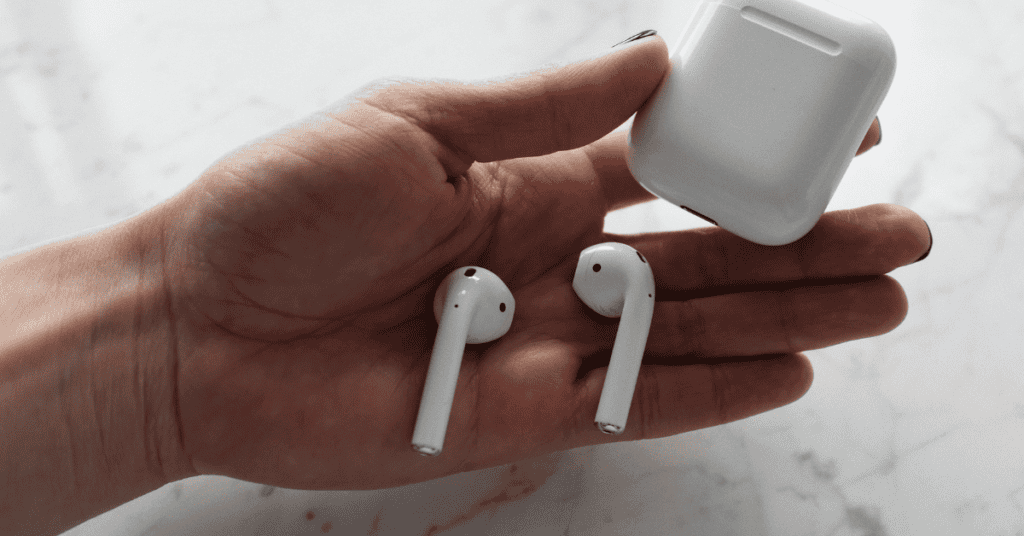
Before we can resolve the charging issue that’s currently present, we first need to identify its exact cause related to the AirPods charging mechanism.
First, the basics:
The AirPods’ built-in battery has 93 milliwatts capacity in total. The AirPod case is the main component for charging your AirPods, and it holds multiple full charges.
A fully loaded battery will give you five hours of listening time and two hours of talk time.
Once the battery runs out of power, you can usually charge it for 15 minutes to quickly recover three hours of listening time and one hour of talk time.
In terms of the issue at hand, there are several potential reasons as to why your left Airpod charges slower than the right.
It could be the batteries showing some signs of wear and tear, but it’s more likely that the problem lies with the electronic contact points on the AirPods.
There are three AirPods electronic contact points:
- The USB cable connecting to the power source
- The lightning connector to the case
- AirPods contact point within the case
When a set of AirPods charges more slowly, chances are the problem is either in one of the contact points or the battery itself. However, if just one Airpod charges slower, the problem is likely the Airpods case.
There are two variants of AirPods when it comes to charging- wireless or non-wireless. Both of these two AirPods variants come with a charging case, and we’ll now tell you what you can do to rectify the issue!
How Do I Make Both Airpods Charge At The Same Rate?
1. Check The Charging Case For Any Remaining Power

Your charging case needs to have more than 10% remaining battery level in order to charge the two AirPods at the same rate.
A charging case with less than that percentage will lack the necessary power to charge both AirPods equally.
Therefore, if your left Airpod is currently charging slower, just be sure to charge it for as long as necessary until it’s fully charged.
With AirPods, you do not have to worry about overcharging! The Apple product comes with a high-quality battery, and the charging case will automatically block the electrical flow once the battery reaches full capacity.
2. Reset The Airpods
If your left Airpod is having charging problems (or if your AirPods have stopped working for whatever reason), another thing that is usually worth trying is resetting them.
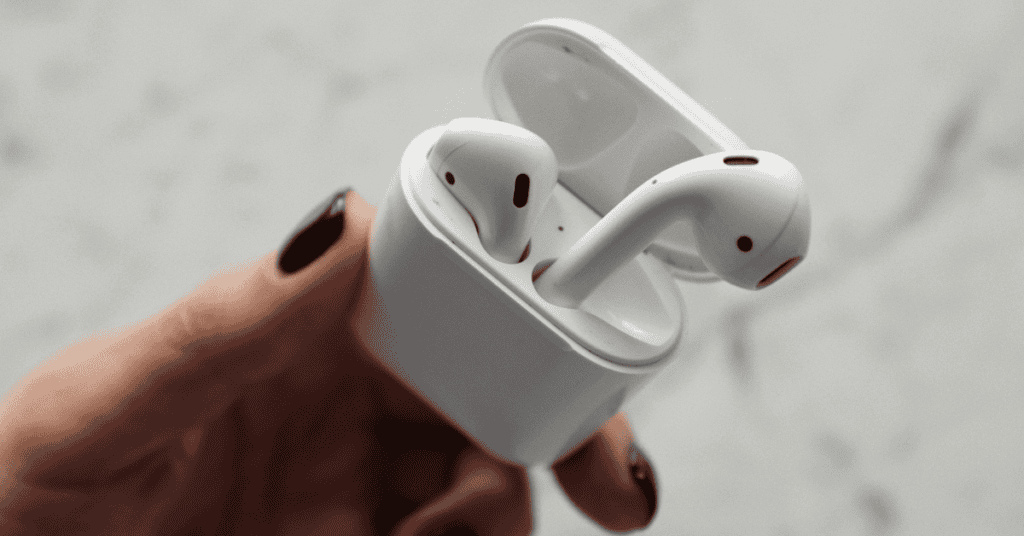
Doing so will allow them to go back to the factory settings, which will hopefully help to repair any underlying problems.
Here is how you can reset your AirPods:
- Head to the Settings tab on your device.
- Tap the “i” button and then the Forget option.
- Hold the pairing button on your Airpod case and wait until the status light shows a flash of white. It should then display an amber color and, finally, a continuous white light.
- Hold the AirPods case close to your device and open the case lid to allow the AirPods to pair with your phone.
- Charge the AirPods and check whether they now charge at the same rate!
AirPods Status Lights
The status lights of your AirPods can show the current status of the AirPods’ battery and the AirPods case’s battery- as well as whether the AirPods themselves are fake or authentic.
When you open your AirPods case, and the earbuds are inside, the status light will reflect the AirPods’ battery status.
However, if the AirPods are not inside, it will show the status of the AirPod case’s battery.
When it comes to fake or authentic AirPods, authentic wireless AirPods have a status light on the front of the charging case.
On the other hand, authentic non-wireless AirPods will have the status light in the space between your AirPods.
If the status light is placed anywhere else, it’s unfortunately likely that your earbuds are a knockoff product.
Status Light Colors And Meanings:
- Green status light– The AirPods have sufficient charge.
- Amber status light– The power level is usable for only a couple more hours.
- White light on wireless AirPods- The AirPods are ready to pair.
3. Clean The Left AirPods And Charging Case
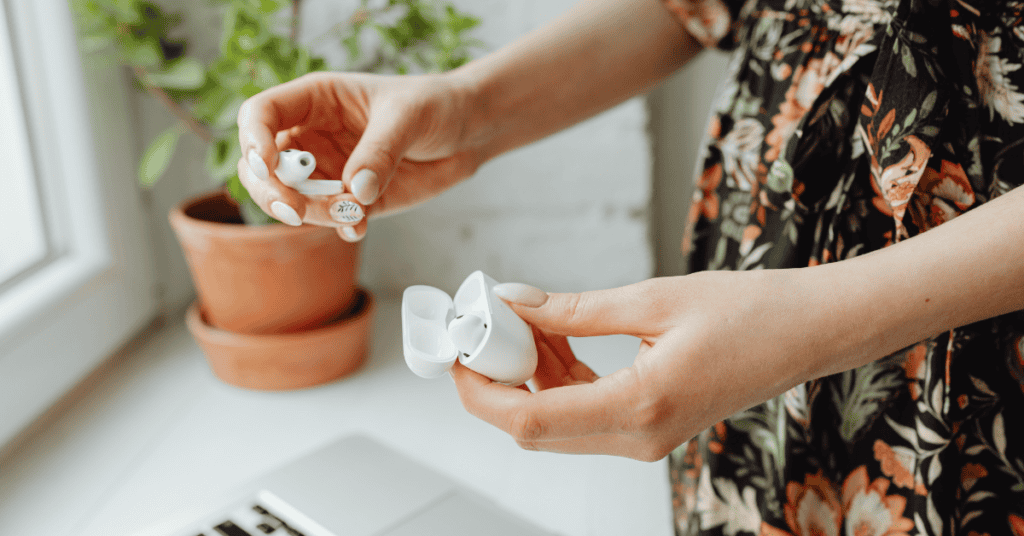
You should always clean your AirPods after using them continuously for a period of time!
Like any other electronic device, your AirPods also need maintenance- something many users, unfortunately, forget to do.
Dirt build-up in your AirPods and charging case is not only unsanitary but can also lead to problems such as slow (or no) charging and muffling of the audio.
Once dust and debris get into and accumulate inside the charging ports, it causes impairment and prevents the AirPods from properly coming into contact with the charging case.
Grime can also get into the AirPods through dirty ears; therefore, ensure you clean your ears regularly as well!
Here is how to go about cleaning your AirPods:
Charging Case Cleaning
- Wipe any dirty areas of your charging case using a cotton swab dipped in 70% isopropyl alcohol.
- Using a soft-bristled toothbrush, clean the charging port of the case.
- Using a soft interdental brush, clean the internal sections of the charging case (if dirty).
- Using a clean toothpick, remove any dirt along the lines in the case.
- Finally, use a clean paper towel to dry off the case.
Left AirPod Cleaning
- Clean the AirPod tail using a clean and dry fabric.
- Once you do that, put both AirPods into the case.
- Charge for 15 minutes, and check whether the AirPods have charged at the same rate.
Most AirPod charging problems are resolved once the Airpod tail and charging case has undergone thorough cleaning.
4. Remove The AirPod And Reinsert It
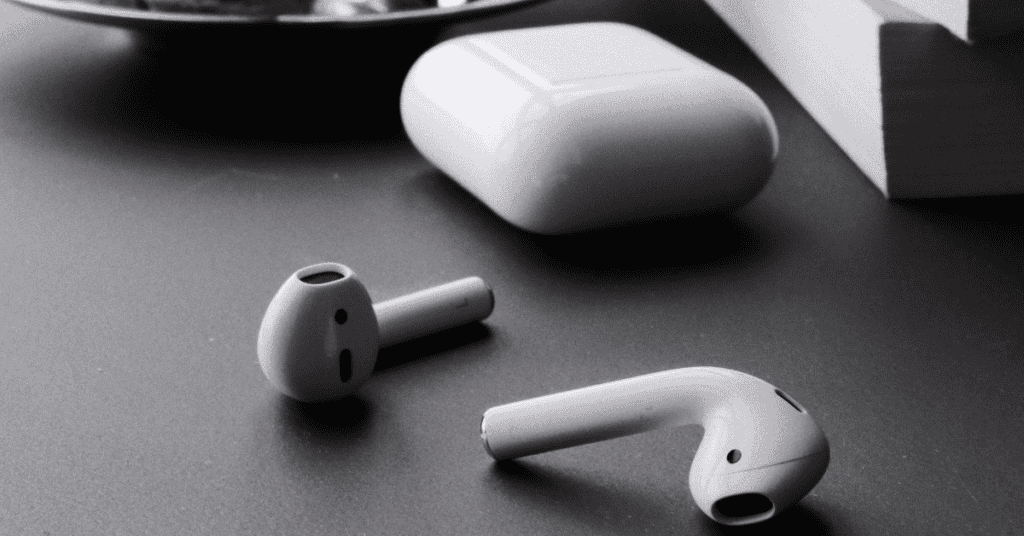
Your left AirPod may be charging more slowly because it isn’t making proper contact with its charging port.
For AirPods to charge at the same rate, they must be inadequate contact with the charging port. Here is how to remove and reinsert an AirPod:
- Remove any AirPod accessories.
- Remove the left Airpod that is charging slowly.
- Reinsert the Airpod and connect to power.
- Check your phone to see if it is charging.
To check whether the AirPods are charging, open the lid of the case and hold it close to your iPhone.
Wait for a few seconds, after which you should see a charging icon next to your battery symbol.
As long as the battery in your Apple device is working, you should notice the charging icon. If you do not see it, it means that your AirPods are not charging properly!
In Conclusion
Don’t give up if you’ve tried the above DIY methods and your left Airpod is still charging slower than the right one.
While adequately charging, resetting, cleaning, and reinserting the AirPods and case should be sufficient in most cases to resolve this issue, sometimes there may be more serious damage at hand.
Contact Apple support online or visit your nearest Apple store and speak to one of their agents to see if they can assist you.
They will be able to check out your AirPods thoroughly and determine whether they can be repaired or whether they need to be replaced!
Headphones are one of them. Want to know what the other 14 Most Essential Smartphone Accessories are this year? Click HERE to find out!
